Pages

Wednesday, 5 December 2012

Large Holiday Tag

Holiday Tag
Tonight we are making THIS huge tag in class at Shabby Shutters. I am super excited about this as I love the colors and the little rosettes! Rosettes are made from Sticky Back Canvas ('cause you know how much I love that stuff!) and the rest is just inking and embossing! It is made on a huge 5'' x 10 1/2'' manila tag. The embossing is popped out from adding Black Soot Distress Ink to it and the entire tag is colored by using the Dyan Reaveley Dylusions Sprays! The top red dots paper is actually a space to hold a gift card if you choose to. Totally up to you! Just a matter of having fun with it!

Monday, 3 December 2012

Mixed Media Canvas

8 1/2'' x 11'' canvas

6" x 6" canvas
I am really into this Mixed Media Canvas Art lately. I love having 'no rules' to play by and use my fingers as my paint brushes. Paints, mediums, sprays, masks, stamps and markers all lay in a 2 foot space in front of me despite the 5' x 3' table I am working on!
For these particular canvases I had been wanting to do something special with the flowers I had made in a class at Shabby Shutters with Michelle. Someday she will get her own blog up and you can start to see all the beautiful creations she makes...but for now, I'll sneak some of her flowers in my art!
For both canvases I started by Gesso'ing my canvas and going crazy with tans and pink paints. Tissue papers and stamped words are scattered through out the canvases in no particular order. Sew Stampers are PERFECT to use on this type of art! Left over rub-ons, stickers are also perfect as well as scrap paper! A Sharpie marker fills in some doodles and a word or two. The vases were cut from scrap paper and glued on and then inked and doodled upon! Alcohol Inks, Stickles, Perfect Pearls sometimes make an appearance and Glossy Accents...always lots of Glossy Accents!
The star of the show though.....my flowers!!! Thanks Michelley!
Don't you think they fit perfectly into my vase?  ;)

Have a happy craftin' day!

Friday, 30 November 2012

Holiday Wreath


Decided to try and make a wreath out of some paper and a fern punch. I first started by punching a circle and then punching another circle on the center to create your wreath 'base'. You can't tell there are different shades of green here but I did ink various shades of green onto the already green cardstock. I then started gluing (using a tacky glue) around the base and tucking in ferns here and there. I thought it needed something sparkly so I twisted a small piece of tinfoil to make the ribbon and then added red Liquid Pearls as some berries. I love my new window die from Spellbinders (and Shabby Shutters!) and played around with adding the wreath to the window and to the bottom of the window box. I still think its a little too plain but its my first attempt so at least its something I can work on!
Its a snowy day here so its a good day to play in the craft cave. Hmmm....I think I just inspired myself to create a wintery scene behind the wreath. Gotta go put the Keurig on!
Have a happy craftin' day! I know I will.

Wednesday, 14 November 2012

Fun with tags
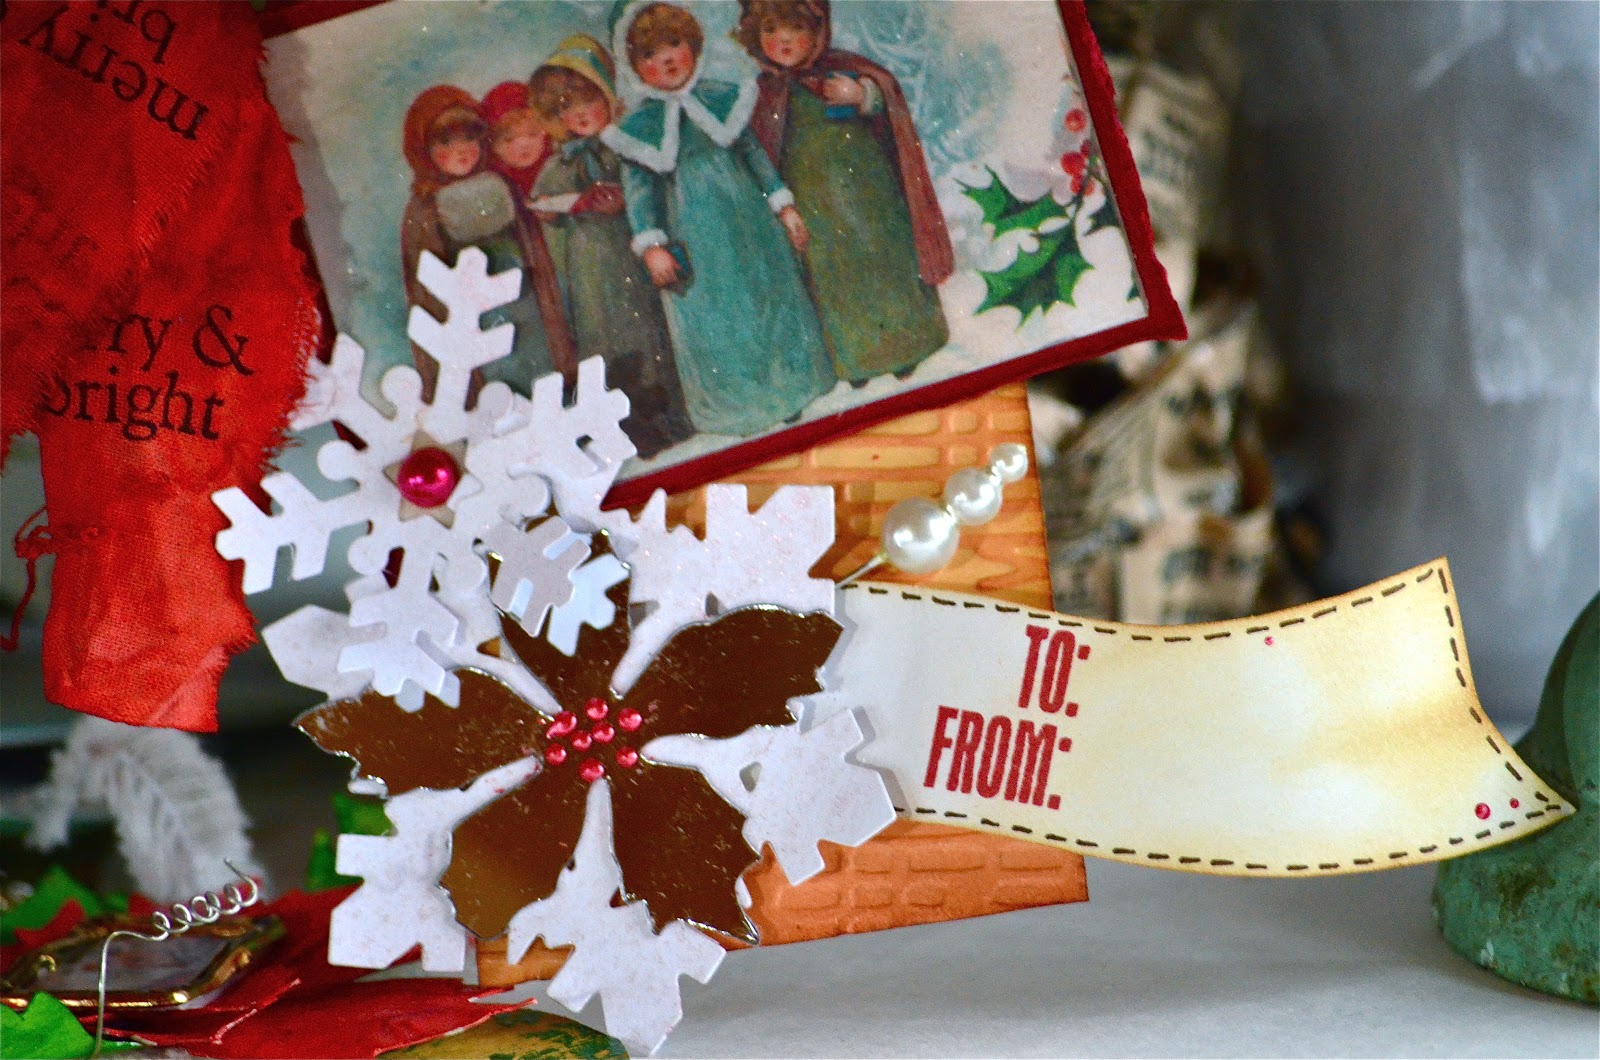
Oh what fun I had with this tag. There are so many fun things packed into one tiny tag! Tim Holtz new mirror paper and frosted paper make an appearance as well as some Dyan Reaveley Dylusions spray. This tag gets you messy and I love it! I had to wear latex gloves or it would have looked like I just murdered a project instead of created one. This is an upcoming project during my many classes of the season at Shabby Shutters. Which class you ask? Well, you'll just have to wait and see!

Monday, 12 November 2012

Oh Christmas tree(s)....

A whole new world of trees for me! After meeting with the Shabby Shutters peeps we decided that instead of putting a fake tree up we were going to make our trees from paper products. My mind started wheeling around and this is what I whipped up for the first round of trees.

The products I used?

From left to right:
1. Coffee filters
2. Shabby Shutters paper bags (fringed around the tree)
3. Various shades of green paper and a flower punch
4. Dryer Sheets (Thanks for the inspiration Michelle!)
5. Shabby Shutters paper bags (twisted around the tree)

Still a fireplace and some stocking to be made out of paper...stay tuned for those creations!

Wednesday, 7 November 2012

Cards of the Season

Tim Holtz launched some more die-cuts...just what I need! I gobbled up this tattered poinsettia and went to work creating with it. Can I just say, 'I love it'! This particular poinsettia card will be a card class at Shabby Shutters in Antigonish. Isn't it awesome?

Sunday, 14 October 2012

Thankful

Just a quick card showing a masking technique that I used so that I could have a leaf image and script in the same square. The squares are made of Sticky Back Canvas. I stamped the image of the leaf first and then masked it so that I could stamp the script image. I colored the 3 leaves in different colors and spritzed a little Perfect Pearls Mist to give it a little shimmer.

The bee was stamped on the card base itself and then stamped and cut out from another piece of paper and adhered with a pop-up dot. I then Glossy Accented the bee to make her shine!

A few stamped images of leaves in yellow ink and some matting and this card is complete.